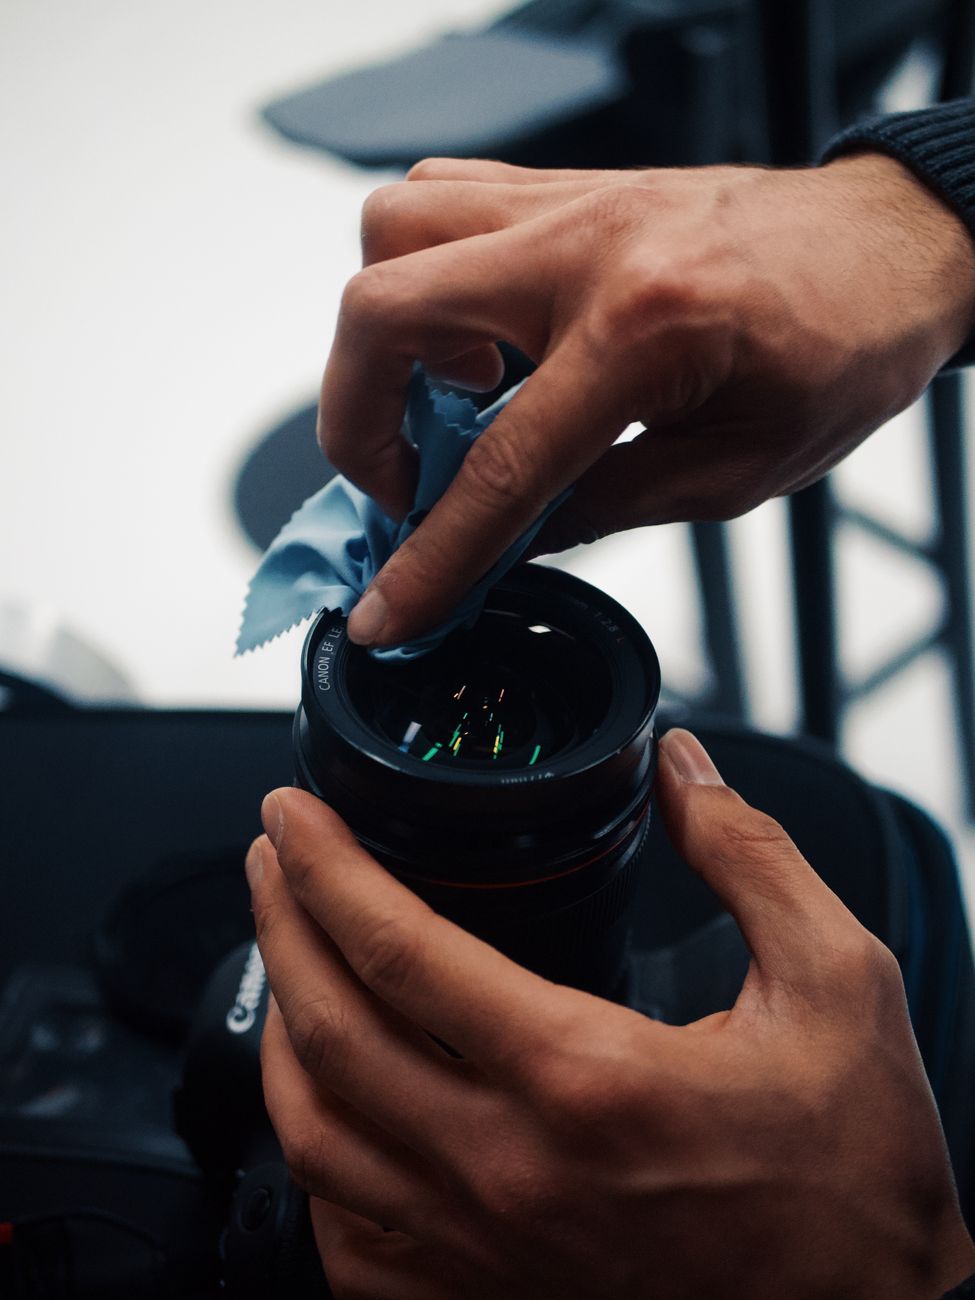
Dust, fingerprints, and small smudges can reduce contrast and create bright spots in photographs. Cleaning your camera lens is simple, but the order matters. Rubbing dry dust across the glass is one of the easiest ways to create fine scratches.
This guide explains how to clean your camera lens with the least possible contact, which tools to use, and when a professional cleaning is safer than doing more at home.
Gather the Right Supplies
- A hand-powered air blower
- A soft lens brush with clean bristles
- A clean microfiber lens cloth
- Lens cleaning solution made for optical glass
- A protective cap or clean case
Do not use tissues, paper towels, clothing, household glass cleaner, or compressed air from a can. These materials can leave fibers, contain chemicals, or push moisture and debris into places you cannot reach.
Step 1: Inspect the Lens in Good Light
Turn off the camera and remove the lens if necessary. Hold the lens at an angle under a bright light. Look for loose dust, fingerprints, dried spots, or moisture. You may only need the blower if the problem is loose dust.
Check both the front and rear glass elements, but avoid touching either surface while you inspect it. Keep the camera body facing downward when the lens is removed so less dust can enter the mount.
Step 2: Blow Away Loose Dust
Use the hand blower several times while holding the lens at a slight angle. Do not touch the glass with the blower tip. A blower moves particles away without dragging them across the coating.
If dust remains, use the soft brush with very light strokes. Brush from the center toward the edge, then lift the brush away. Do not scrub back and forth, and do not use a brush that has been stored loose in a bag with dirt.
Step 3: Remove Fingerprints and Smudges
Put one or two drops of lens solution on the microfiber cloth, never directly on the lens. The cloth should be slightly damp, not wet. Wipe the glass in a gentle spiral from the center toward the outside edge.
Turn the cloth to a clean section and make one final light pass. If a mark does not disappear, repeat the process with a fresh area of the cloth instead of pressing harder.
Step 4: Clean the Lens Exterior
Use a dry microfiber cloth to wipe the barrel, focus ring, and lens cap. Keep the cloth used on the glass separate from the cloth used on the exterior so grit from the body does not reach the optical surface.
Inspect the rear contacts and mount without applying liquid. If they need attention, use the care instructions for your camera system or ask a repair shop.
How Often Should You Clean It?
Clean a lens when you see dust or marks that affect the image, not on a strict daily schedule. Frequent unnecessary wiping creates more opportunities for scratches. A front and rear cap, a small camera bag, and careful handling prevent more problems than repeated cleaning.
When to Get Professional Help
Stop cleaning at home if you see moisture inside the lens, fungus, deep scratches, oil behind the glass, or particles that do not move with a blower. Internal cleaning requires the right tools and can affect alignment if the lens is opened incorrectly.
Final Thoughts
To clean your camera lens safely, inspect it first, remove loose dust with a blower, use a clean brush only when needed, and apply a small amount of lens solution to a microfiber cloth for smudges. Gentle technique and good storage keep the glass clear without risking unnecessary damage.
