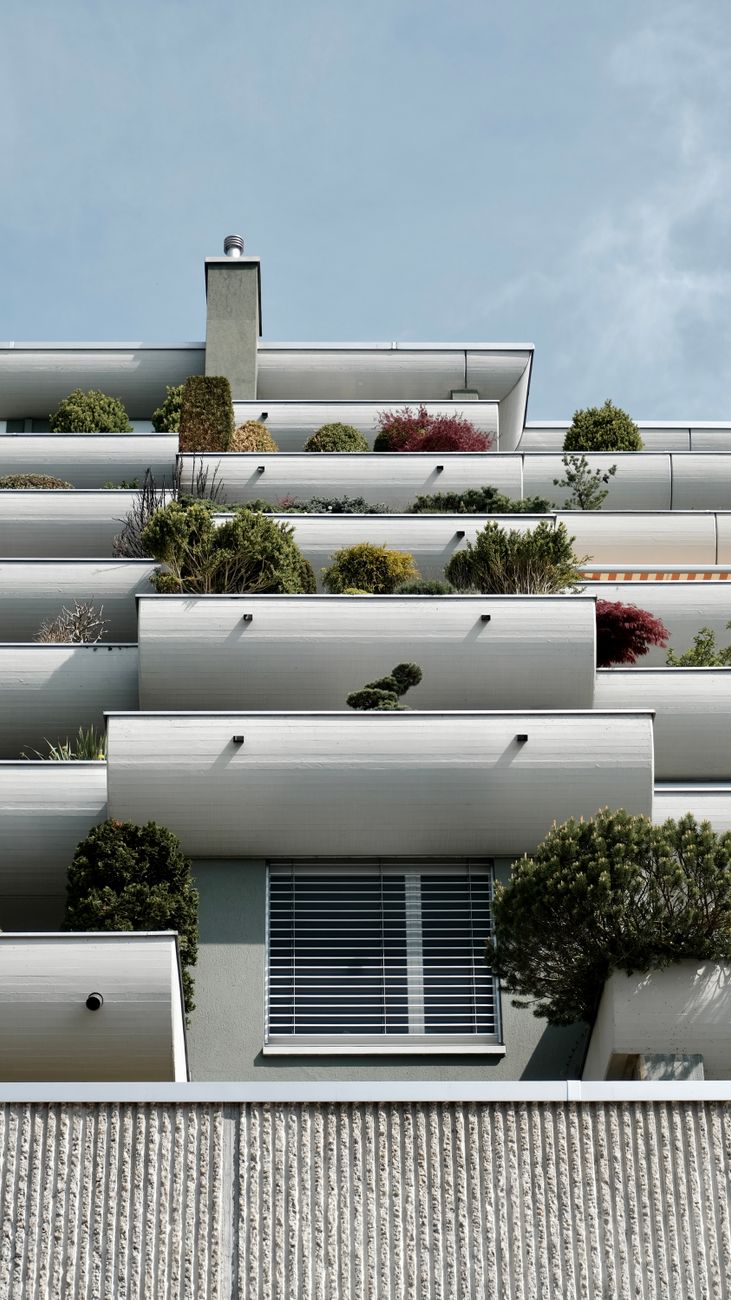
To create a simple balcony privacy screen, check building rules and wind exposure before choosing fabric, plants, or panels.
Updated August 12, 2026, after a fresh review, with updated visuals and links.
A screen should provide privacy without becoming a sail that strains the railing or blocks drainage and emergency access.
What You Need
- A tape measure
- Outdoor fabric, reed, lattice, or tall planters
- UV-resistant ties or approved brackets
- A level and scissors
Step 1: Check the Rules
Ask the building manager or landlord about height, attachment points, colors, and materials. Do not drill into a shared railing without permission.
Step 2: Measure the Opening
Measure width and height in several places. Leave space for doors, drains, and the movement needed to use the balcony safely.
Step 3: Choose Airflow
Select a material that lets some wind pass through. A partly open screen is safer than a solid panel in an exposed location.
Step 4: Secure and Inspect
Use approved ties or brackets, check every connection, and inspect the screen after strong weather. Remove it if the structure begins to bend.
What to Avoid
- Ignoring wind: A privacy screen can create strong pressure.
- Using weak ties: Sun and weather degrade indoor materials.
- Blocking drainage: Water can collect during rain.
Final Thoughts
A simple balcony privacy screen should be permitted, lightweight, secure, and able to handle airflow. Measure first and inspect it after bad weather.
