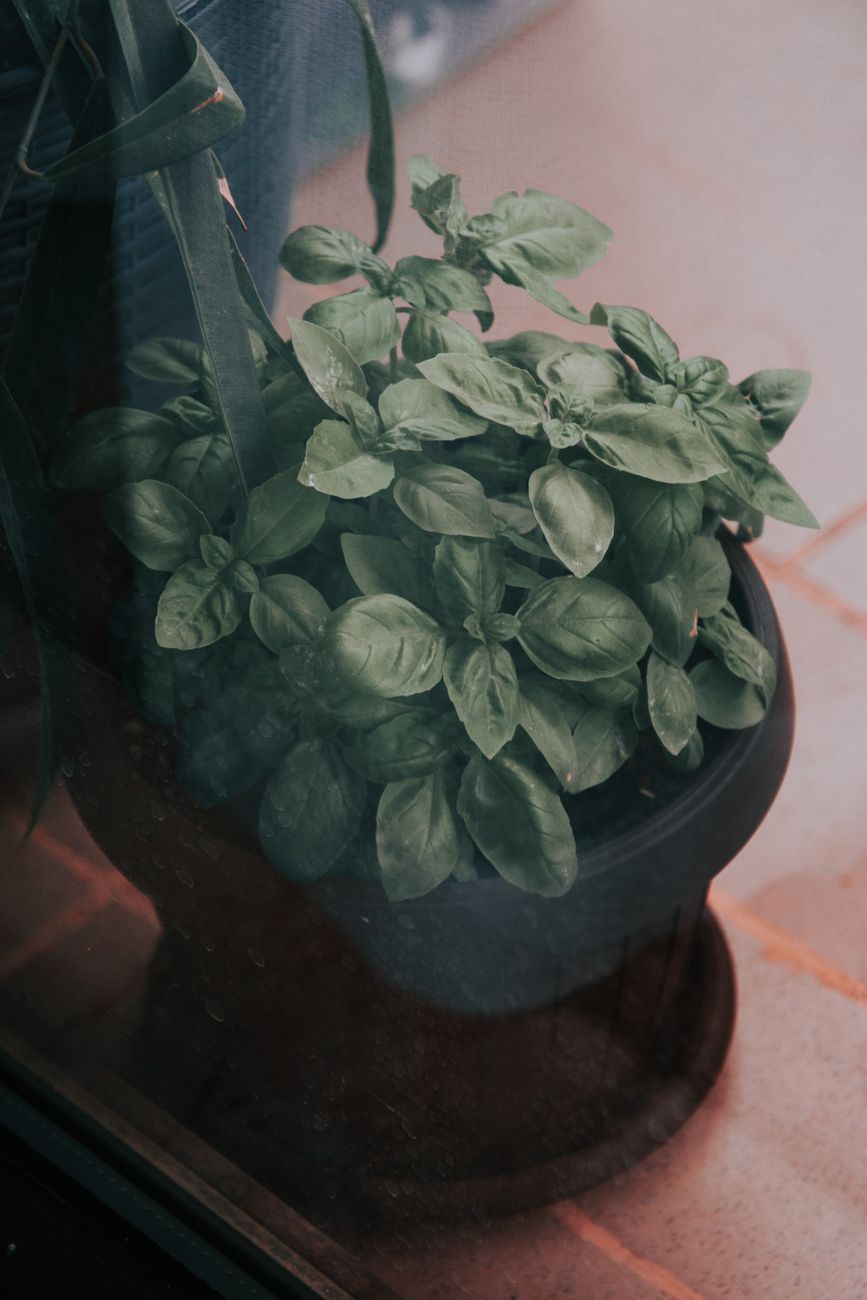
This beginner-friendly guide explains how to grow basil indoors from seeds, how to avoid the most common mistakes, and how to harvest the plant so it keeps producing new leaves.
What You Need Before Planting
Gather these basic supplies before you begin:
- Basil seeds, preferably sweet basil for a versatile first crop
- A small pot or seed tray with drainage holes
- Light, well-draining potting mix
- A saucer to catch excess water
- A sunny windowsill or a small LED grow light
- A pencil or plant label for marking the variety and planting date
Choose a container that is at least 4 inches deep for a single young plant. If you plan to grow several plants together, use a wider container and leave enough space between them for air to circulate.
Step 1: Prepare the Container and Soil
Fill the container with fresh potting mix, leaving about half an inch of space below the rim. Avoid using soil collected from outdoors. Garden soil can compact inside a pot, drain poorly, and bring insects or plant diseases into your home.
Moisten the mix before planting. The soil should feel damp but not muddy. Pre-moistening prevents the seeds from being washed into a corner when you water them later.
Step 2: Plant the Basil Seeds
Make shallow holes about one quarter of an inch deep, or simply press the seeds gently onto the surface and cover them with a very thin layer of soil. Basil seeds need moisture and warmth to germinate, but they do not need to be buried deeply.
Plant two or three seeds in each spot because not every seed will sprout. If more than one seedling grows in the same place, you can thin the extras later. Mist the surface or water slowly from the bottom so the seeds remain in position.
Place the container somewhere warm. Basil seeds commonly sprout within five to ten days when the soil is kept evenly moist and the temperature is comfortable.
Step 3: Give the Seedlings Enough Light
As soon as the seedlings emerge, move them to the brightest location available. A south-facing or east-facing window can work well, but watch the plants for signs that the light is too weak. Long, thin stems and widely spaced leaves usually mean the seedlings are stretching toward the light.
Rotate the pot a quarter turn every few days so the plant grows upright instead of leaning. If natural light is limited, place an LED grow light above the seedlings for roughly twelve to fourteen hours per day. Keep the light close enough to prevent stretching, while following the distance recommended by the light manufacturer.
Step 4: Water Without Overwatering
Check the surface of the soil every day or two. When the top half inch feels slightly dry, water slowly until a little water drains from the bottom of the pot. Empty the saucer afterward so the roots are not sitting in water.
Overwatering is one of the most common reasons indoor basil fails. Yellowing leaves, a sour smell from the soil, and a permanently wet surface are signs that the plant may be receiving too much water. On the other hand, limp leaves and very dry soil mean the plant needs water soon.
Water the soil rather than repeatedly wetting the leaves. Dry foliage reduces the chance of fungal problems and helps the plant stay healthier in a small indoor space.
Step 5: Thin and Transplant the Seedlings
When the seedlings develop their first two sets of true leaves, keep the strongest plant in each growing spot. Remove extra seedlings by snipping them at soil level with clean scissors. Pulling them out can disturb the roots of the plant you want to keep.
If you started the seeds in a tray, transplant the strongest seedlings into individual pots when they are about 2 to 3 inches tall. Handle them by the leaves rather than the delicate stem, and water them gently after moving them.
Step 6: Pinch the Plant and Harvest Correctly
Once the basil plant has several sets of leaves, pinch or cut the stem just above a pair of leaves. This encourages the plant to branch out instead of growing tall and sparse. Repeat the process whenever a stem becomes long.
Harvest a few leaves at a time, preferably in the morning after the plant has dried from overnight humidity. Avoid removing more than one third of the plant at once. If flower buds appear, pinch them off unless you specifically want to collect seeds. Flowering can make the leaves smaller and more bitter.
Common Indoor Basil Problems
- Thin, leaning stems: Move the plant closer to a brighter light or add a grow light.
- Yellow leaves: Check for excessive watering, poor drainage, or a container that is too small.
- Brown, crispy edges: The soil may be drying out too much, or the plant may be exposed to hot air from a vent.
- Small leaves: Improve light, begin regular pinching, and make sure the roots have room to grow.
- White insects or sticky leaves: Isolate the plant and inspect the undersides of the leaves before treating the problem with an appropriate insect-control method.
Frequently Asked Questions
How often should indoor basil be fertilized?
Start with healthy potting mix and wait until the plant is actively growing. A diluted, balanced liquid fertilizer every four to six weeks is usually enough. Avoid heavy feeding, which can produce weak growth.
Can I grow basil from a supermarket plant?
Yes. Separate crowded stems into smaller groups and transplant them into fresh pots with drainage. Give the plants time to recover before harvesting heavily.
Final Thoughts
Growing basil indoors from seeds is a simple project that rewards small, regular habits. Use fresh potting mix, plant the seeds shallowly, provide strong light, water only when needed, and pinch the stems to encourage branching. In a few weeks, you can move from a handful of seeds to a reliable supply of fresh leaves for everyday cooking.
Start with one container, observe how the plant responds, and adjust the light and watering routine as it grows. Once you are comfortable with basil, the same basic approach can help you experiment with mint, parsley, cilantro, and other kitchen herbs.
