The camera improvements matter less than the person holding it: professionals with phones beat amateurs with expensive cameras every single day.
Updated August 09, 2026, after a fresh review, with updated visuals and links.
The gap is five learnable habits, each taking ten seconds to apply per shot. Total time investment: one coffee. Results: permanent.
What trips people up
- HDR off when things move: it blends frames and ghosting appears, leave HDR auto on for stills, off for action.
- Flash as main light almost never flatters: use it only as last-resort fill, the 'no flash' rule survives generations for a reason.
Here's how it works
- Clean the lens. Literally.. Pocket fog and fingerprint smear on the tiny lens is the invisible sharpness tax on half of all phone photos. One swipe on your shirt before every shot: embarrassing how big a difference this makes when you test it.
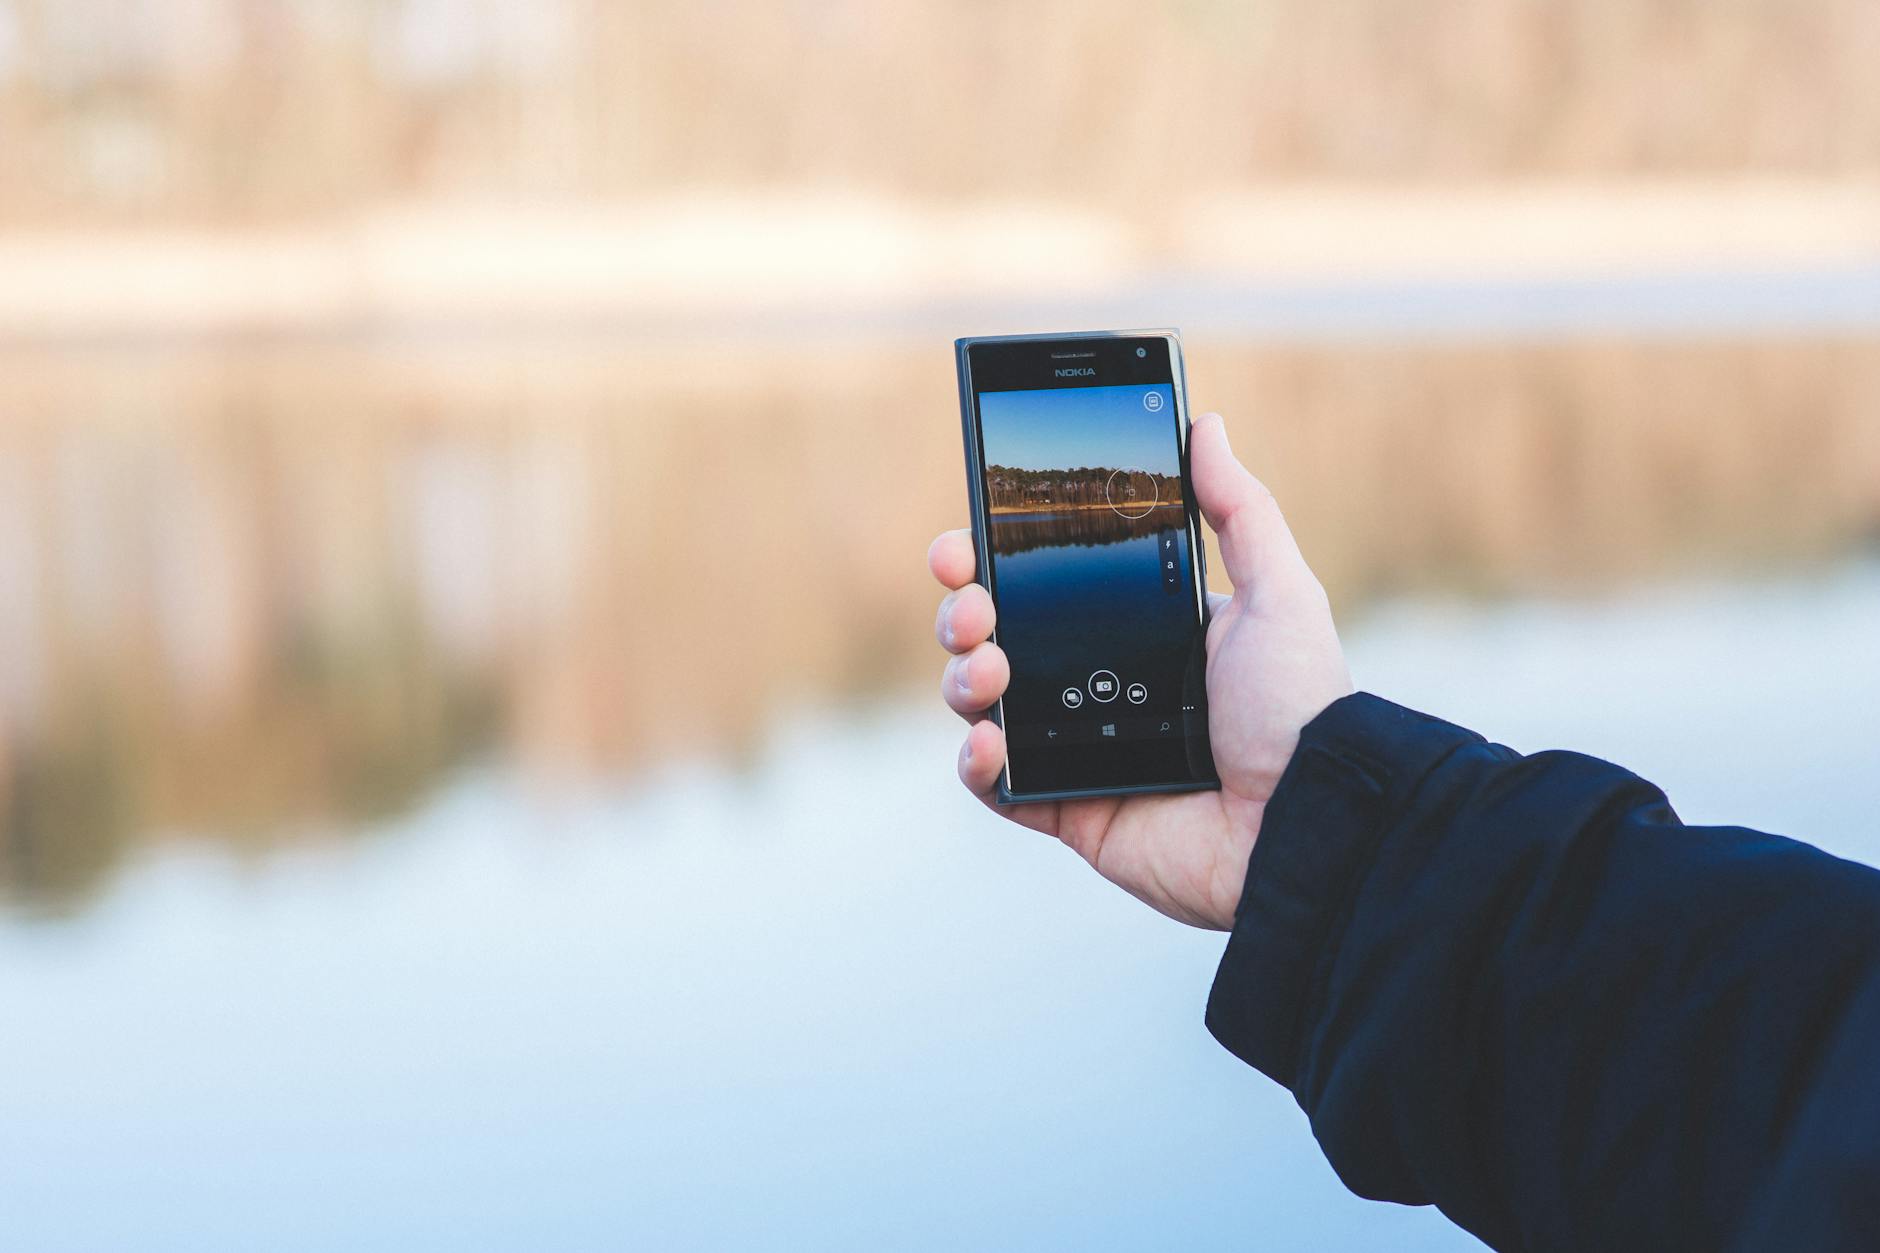
- Tap to focus, slide to expose. Tap your subject on screen, a box appears, now SLIDE your finger up or down on the same spot: the brightness slider. Cameras average the whole scene and get dramatic moments wrong: your thumb deciding brightness is the professional move concealed as a beginner trick.
- Turn on the grid, obey the thirds. Camera settings, enable the 3x3 grid. Place subjects at line intersections instead of dead center: instant professional composition. Horizon ON a line, not through a head. It feels silly until the first photo comparison converts you.
- Chase light, not locations. Golden hour (hour after sunrise and before sunset) flatters everything: soft, warm, directional. Midday overhead sun creates raccoon eyes on people: step into open shade instead, clouds are nature's softbox. Windows indoors do the same work year round.
- Get closer instead of zooming. Digital zoom crops pixels away, main camera quality only truly lives at 1x (and dedicated telephoto lenses on Pro phones). Two steps closer beats any pinch: feet are the best zoom in photography history.
- The posture and burst tricks. Elbows braced to your body or the phone on a surface: micro shake kills sharpness at dusk. Hold the shutter for burst mode on anything that moves: pick the gem from ten frames later, pros are also just good at deleting.

A few things worth knowing
- Wipe, tap, slide: rehearse the three second ritual until it's muscle memory.
- Portrait mode: step back, give the phone distance from subject to background, and the blur reads expensive instead of melted.
- Edit lightly afterward: tiny contrast and straightening crops, five seconds in the built in editor, no filter avalanches.
Before you ask
Does shooting in Pro/manual mode matter?
For specific evening and creative shots, yes: ISO and shutter control move photos. For 95% of daily photography, tap-and-slide auto with good light wins with a fraction of the effort.
What about those clip on lenses?
Most soften the edges and hassle more than help: the master's tools are the main camera, good light and two steps closer.
Keep reading
- How to Prepare Your iPhone for Trade-In or Sale (The Safe 8-Step Checklist)
- How to Check Your Engine Oil the Right Way (Level, Color, and What It Tells You)
- How to Make a Spotify Blend (And the AI Playlist Features Worth Knowing)
That covers it
Wipe, tap, slide, thirds, golden light, two steps closer. The camera you own was never the limiting factor, and now you have the receipts.
