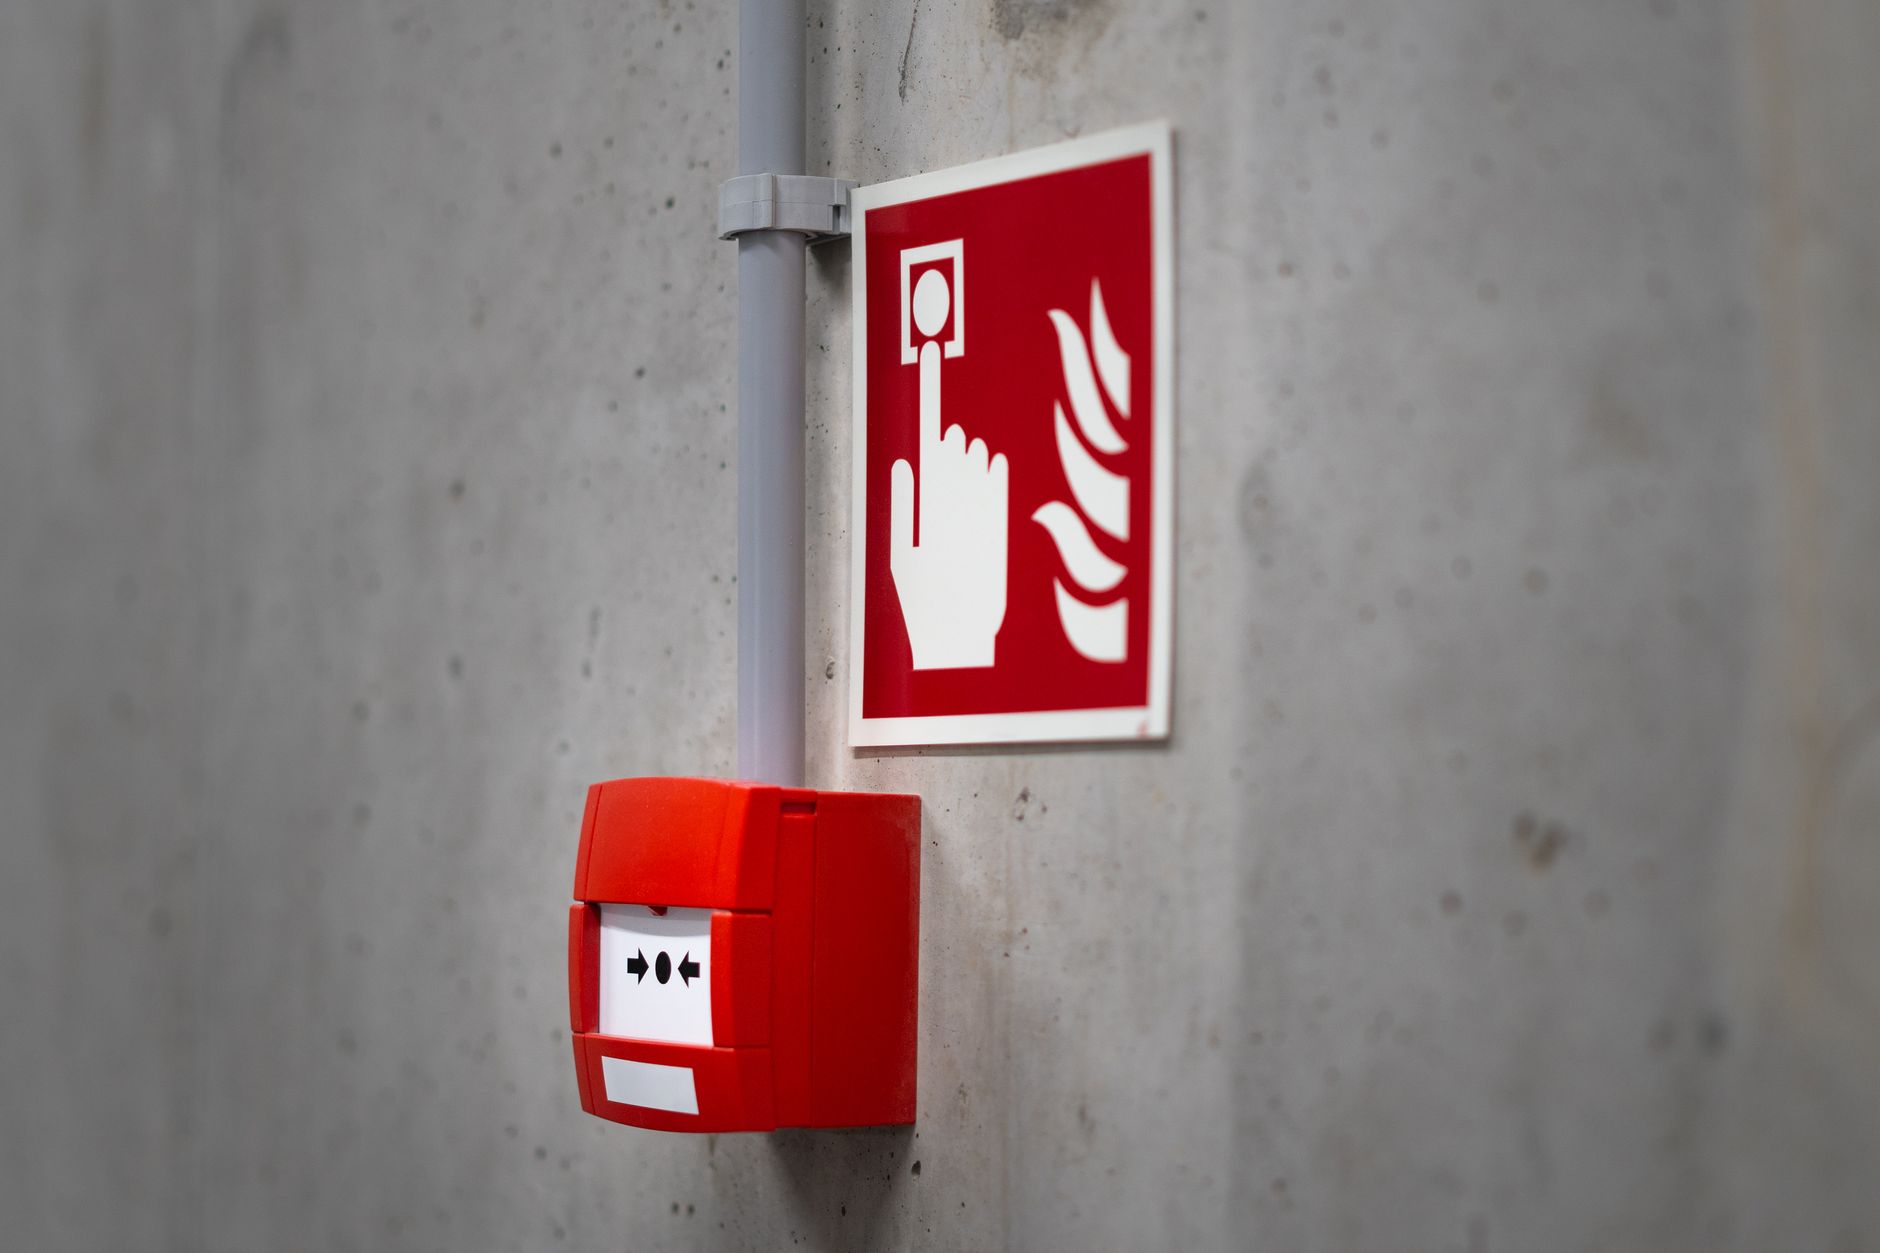
To test smoke alarms, press the test button regularly and replace batteries when the alarm signals a low charge.
Updated August 12, 2026, after a fresh review, with updated visuals and links.
A working alarm needs power, a clear sensor opening, and a suitable location. Testing one alarm does not prove that every alarm works.
What You Need
- A fresh battery if the model uses one
- A vacuum brush attachment
- A step stool used safely
- A calendar reminder
Step 1: Test Each Alarm
Press and hold the test button until the alarm sounds. Check every unit rather than assuming linked alarms are all receiving power.
Step 2: Replace the Battery
Turn the alarm as directed, replace the battery with the correct type, and test it again. Some sealed units need complete replacement.
Step 3: Remove Dust
Use a vacuum brush around the openings without spraying cleaner into the sensor. Keep the unit securely attached.
Step 4: Review Placement
Follow local guidance for bedrooms, hallways, and each floor. Do not remove an alarm because cooking causes nuisance alerts; adjust placement according to instructions.
What to Avoid
- Testing only once a year: Batteries and sensors can fail between tests.
- Using the wrong battery: The alarm may not work reliably.
- Blocking the sensor: Dust or paint can reduce response.
Final Thoughts
Testing smoke alarms is quick and important. Check every unit, replace power sources correctly, keep sensors clear, and follow local fire safety guidance.
