Your PC runs Windows 10 perfectly but the upgrade checker says 'not compatible' because of TPM 2.0 or a CPU that's one generation too old.
Updated August 09, 2026, after a fresh review, with updated visuals and links.
There's an official-adjacent workaround that has put Windows 11 on millions of older machines. It works well, with honest caveats you should hear first.
What you'll need
- A Windows 10 PC that fails the compatibility check
- A full backup of your files (non negotiable)
- 45 minutes
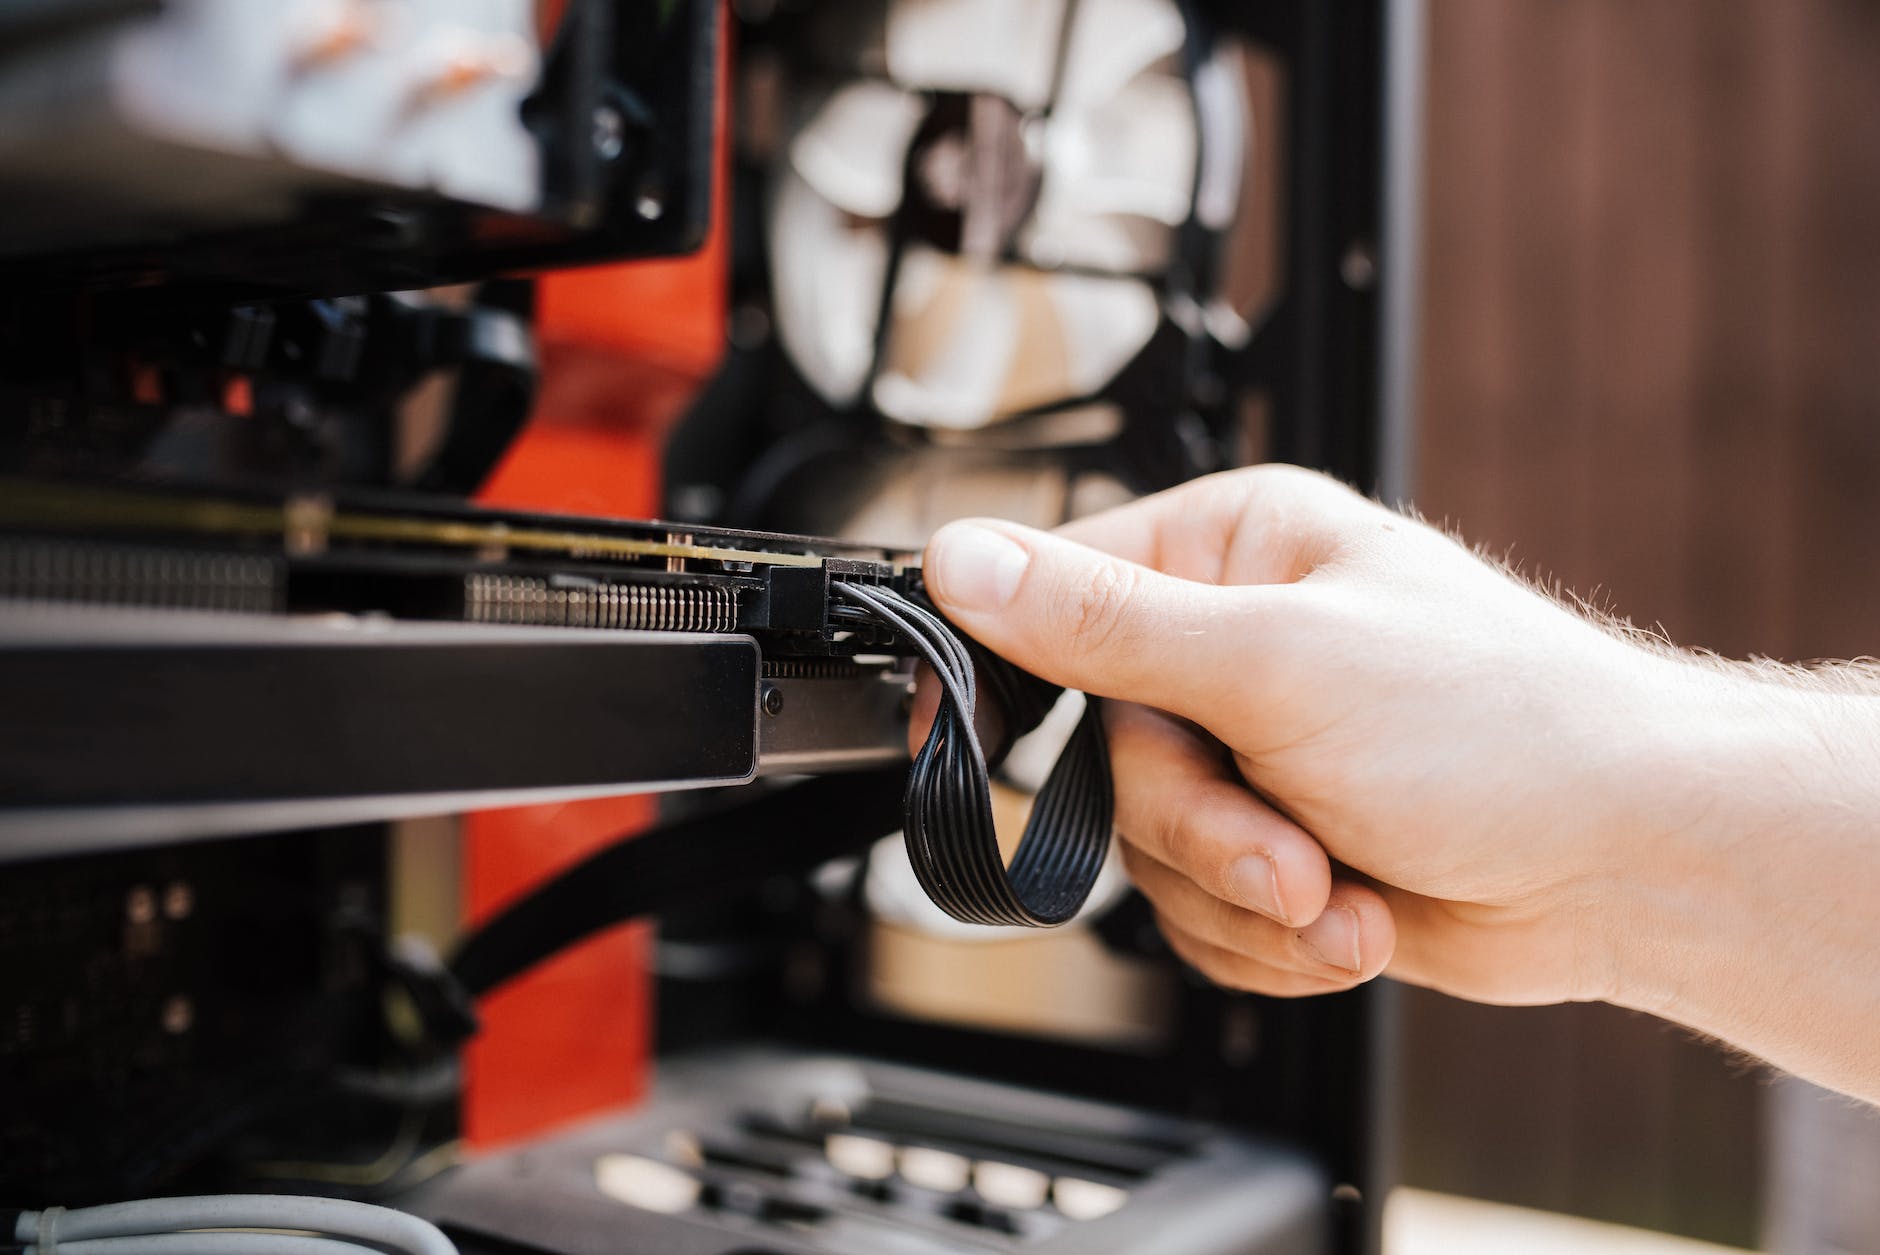
The steps, start to finish
1. Understand the honest caveats first
Microsoft documents that unsupported PCs may not be entitled to future updates and any damage isn't covered by warranty. In practice, monthly updates keep arriving for nearly everyone, but run this path with eyes open, ideally on a PC you'd be okay replacing eventually.
2. Quick check: maybe it's supported after all
Many 'unsupported' PCs just have TPM 2.0 disabled in BIOS, it's called PTT (Intel) or fTPM (AMD). Enter BIOS (usually Del or F2 at startup), find the security section, enable it, and recheck with the PC Health Check app. Legitimate support beats bypassing every time.
3. The registry key method (simplest)
Right click Start, Run, type regedit. Navigate to HKEY_LOCAL_MACHINE, SYSTEM, Setup, MoSetup. Create a DWORD (32 bit) named AllowUpgradesWithUnsupportedTPMOrCPU and set it to 1. Restart the PC.
- This requires at least TPM 1.2 present, most 2015+ PCs have it
- If MoSetup doesn't exist, create the key folder too
4. Run the download
Get the Windows 11 Installation Assistant or media creation tool from Microsoft's official download page and run the upgrade. With the registry flag set, the compatibility block waves you through.
5. Alternative: Rufus for a clean install
The free tool Rufus has a checkbox when writing a Windows 11 USB that removes the TPM and 4 GB RAM checks entirely. This is for clean installs: boot from the USB, install fresh, restore your files from backup.
6. Post install: verify activation and updates
Settings, System, Activation should read active (your Windows 10 license carries over). Then Windows Update should pull the first cumulative patch. If both work, your bypass is living its best life.

A few things worth knowing
- Write down the exact registry change you made: knowing what's non standard helps future troubleshooting.
- Give it a month before recommending it to relatives, stability on YOUR exact PC is the real test.
- Feedback Hub and Windows forums track how unsupported machines fare with each big annual update.
Keep reading
- How to Speed Up Windows 11: 10 Settings That Make a Real Difference
- How to Use Copilot in Windows 11 to Genuinely Save Time
- How to Enroll in Windows 10 Extended Security Updates (Free or $30)
Check for a hidden TPM switch first, flag the registry, upgrade with a backup under your belt. Old hardware, new security, zero dollars.
